5 tips for using Lightroom Presets for Photography
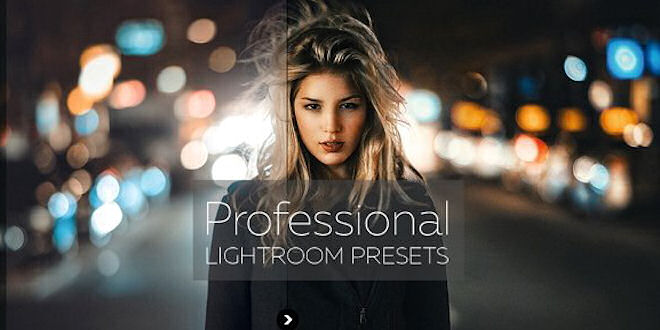
Lightroom presets have transformed many photographers and Instagram influencers lives. It has never been easier to edit the images. It’s quick. It doesn’t require any previous editing experience. And most importantly, you get quality images.

123presets.store main focus is to make sure that the photos that you receive are top quality. There are a couple of things that you can do to make your presets work even better. Okay, maybe more than a couple.
This time we will talk about how to take your photos, crop them, and tweak them so that the Lightroom presets would bring you the best results.
Take Quality Photos
Before taking a photo, make sure that the lighting is on point. The higher quality images you will have, the better results your Lightroom presets will be able to achieve. This seems so simple but so many people focus on other things first. The truth is that without good lighting, the presets won’t be able to do their job.
What is Good Lighting?
Natural lighting without harsh light. In other words, you don’t want to take your photos in the direct sun. What you are looking for is a nice shade. Direct sun can be fun for more interesting effects. However, if you are starting out, it’s always best to keep things simple and let the presets do their job.
Also, if it is possible, take photos with the rear-facing camera. The front camera is nice for selfies but its quality can’t compare. It’s nice to have a little tripod and remote for that very reason. They don’t cost much but you can take your own photos easily.
Adjust Your Exposure
One of the things that you might need to adjust when using Lightroom presets is exposure. That happens because when you take images, they are in different lighting settings. Sometimes you will want to take pictures outside, sometimes you will use a window in your place for lighting. Depending on where you take your photos, the result will be different.
Exposure will not mess with your colors and tones. It just basically makes the pictures lighter and darker. That’s very easy to adjust and makes a huge difference.
Crop Your Photos
Most photographers crop their images after taking them. That’s a great way to make sure that the main focus point gets proper attention. Also, if you use Instagram, you will want to upload your photos at 4:5. By cropping them upfront, you are able to make sure that the most important places are kept and there is enough space around them. You can also try multiple things. Especially, if you use a DSLR, you can crop in pretty close without losing any quality from the image.
Instagram, in particular, doesn’t require high-quality images. That’s why the picture’s quality that you take with your phone is more than enough for Instagram. Photography is all about creativity, so don’t be afraid to experiment and try new things.
Add a Unique Tweak
123presets.store has more than 80 presets to offer. However, even after you apply the preset, you can make changes. All the presets are 100% customizable. Hence, you can choose the style that you like, apply to the image and then add one more tweak that is completely you.
For example, you can increase the whites a little bit more. That’s not going to change the image completely, but it will add a subtle touch to your preset that will make it your own. Another example could be decreasing the saturation just a little bit or increasing the shadows.
Either way, the main style of the preset will stay the same. Your photo will look professional. The only thing that will change is that you will add something to the preset that others won’t have.
#tips #LightroomPresets for #Photography #adobe #instagram
 Epic Heroes Entertainment Movies Toys TV Video Games News Art Pop culture news goodness


